Your cart
There are no more items in your cart


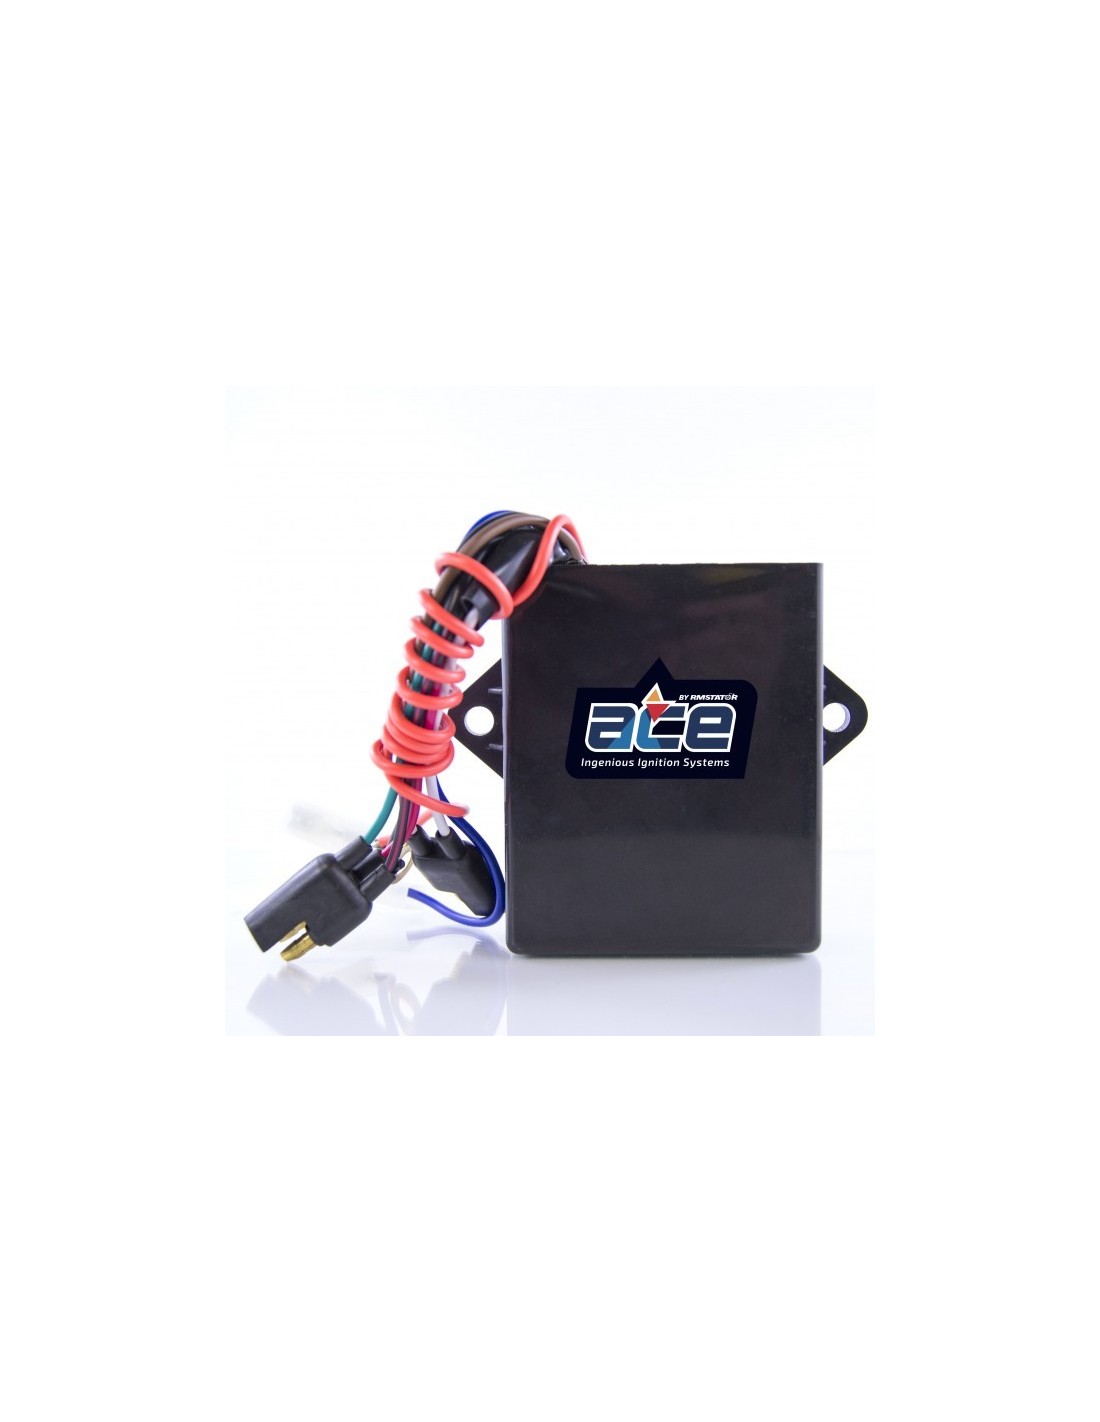
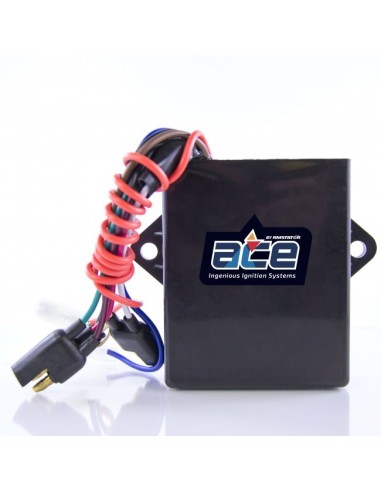
CDI Unit Polaris Xplorer 400 Xpress 400 Big Boss 400 400L Sportsman 400 OEM 3084767 3085087 3085623
CARM40001
5-7 Days
€190.80
Tax included
OEM 3084767 3085087 3085623
CDI Unit
2002 Polaris Xplorer 400
2001 Polaris Xplorer 400 4x4
2000 Polaris Xplorer 400 4x4
1999 Polaris Xplorer 400 4x4
1998 Polaris Xplorer 400 4x4
1997 Polaris Big Boss 400 L 6x6
1997 Polaris Xpress 400 L
1996 Polaris Big Boss 400 L 6x6
1996 Polaris Sportsman 400 4x4 Carb
1996 Polaris Xplorer 400 4x4
1996 Polaris Xplorer 400 L
1996 Polaris Xpress 400 L
1995 Polaris Big Boss 400 L 6x6
1995 Polaris Sport 400 L
1995 Polaris Sportsman 400 4x4 Carb
1995 Polaris Xplorer 400 4x4
1994 Polaris 400 L 2x4
1994 Polaris 400 L 4x4
1994 Polaris 400 L 6x6
1994 Polaris Sportsman 400 4x4 Carb
OEM 3084767 3085087 3085623
INTRO : Can I install the upgrade kit ?
The CARM40000 upgrade kit can upgrade your ride from AC power to DC power even if your stator is broken. Please refer to the following guide to know if you can install the upgrade kit:
You can install the upgrade kit :
When both your source coil and pick-up coil are working in your stator
When your source coil in your stator is broken, but your pick-up coil is working
You can't install the upgrade kit :
When your pick-up coil is not working
** It is possible to upgrade your ride even if your pick-up coil is not working. You will need to open your stator case, change the stator or the pick-up coil and then you will be able to install the upgrade kit. **
FIRST STEP : Verify that your stator is working
Open your wire panel in the front of your vehicle
Locate your stator plug. You will need to test your stator through that plug.
Insert the first multimeter probe in the WHITE wire
Insert the second multimeter probe in the WHITE/RED wire
Check your reading as follow :
Reading of 115 ohms +/- 20% : Pick-up coil good, you can install the upgrade kit
Reading of O.L. : Pick-up coil broken, you will need to change the pick-up coil or the stator before installing the upgrade kit
Check the first source coil by inserting the first multimeter probe in the RED wire
Insert the second multimeter probe in the BLACK/RED wire
Check your reading as follow :
Reading of 445 ohms +/- 20% : Source coil good. You can install the upgrade kit
Reading of O.L. : Source coil broken. You still can install the upgrade kit
The Polaris Ignition Upgrade Kit is by-passing the source coil. You can install the kit even if the source coil is broken.
Check the second source coil by inserting the first multimeter probe in the RED wire
Insert the second multimeter probe in the GREEN wire
Check your reading as follow :
Reading of 4 ohms +/- 20% : Source coil good. You can install the upgrade kit
Reading of O.L. : Source coil broken. You still can install the upgrade kit
The Polaris Ignition Upgrade Kit is by-passing the source coils. You can install the kit even if the source coil is broken.
SECOND STEP : Remove the old CDI box
Unscrew your old CDI box
Disconnect the wire from your vehicle
*** Beware : Please note which connector goes where. You will need to plug the new CDI in the connectors
THIRD STEP : Find where to connect you new CDI the the key switch
Since your new CDI provide DC power, you want to be sure that the current is cut when you shut off your vehicle. For this to happen, you need to connect the DC input wire to a connector that provide DC current when the key switch is on, but stop providing DC current when the key switch is off.
Turn your key switch to "Accessories" or "On"
In your wire panel, use a current checker tool to find a connector that has current in it
Turn your key switch to "Off"
The current checker tool should goes off indicating that the key switch control current.
If not, repeat steps 1 to 4 with another connecting slot until you find the right slot. Usually, the accessory wire is identified with a Red/White wire on your vehicle.
Plug the new CDI red wire in this connecting slot.
FOURTH STEP : Install the new CDI
At this step, you should already have plugged the red wire in the accessories slot in the wire panel.
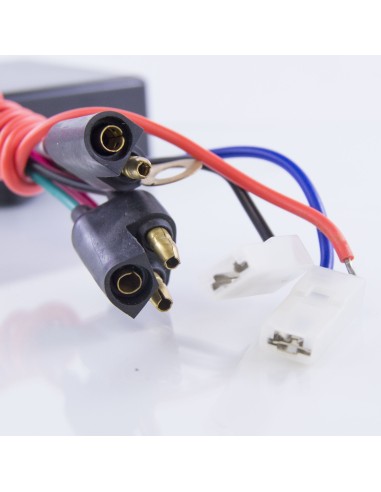
Connect the new CDI connectors to the same vehicle connectors of your vehicle
Try to start your vehicle :
If it starts, go to step 4
If it doesn't start, check your connections, then retest your stator
If it still doesn't start, call our customer service line for assistance
Screw your new CDI in the same holes of the old CDI.
*** Beware : The new CDI might not fit exactly in both vehicle holes. In that case, you should install the CDI in an angle and screw the CDI in only one hole. ***
4 Items
No Related Stores
Tap to zoom